As an Amazon Associate, we earn from qualifying purchases. Some links on this site are affiliate links at no extra cost to you. Our recommendations are based on thorough research and editorial judgment.

Cream Blush and Highlighter: Why Sponges Can Give a Better Blend
When it comes to cream blush and highlighter, using sponges can make a world of difference! We love how a damp sponge gives us that fresh, dewy look without being too heavy. The unique texture helps blend products seamlessly, making it look like our skin is glowing naturally. Plus, with a quick bounce here and a little stipple there, we can control the color intensity effortlessly! Want to learn how to level up your sponge game even more?
Key Takeaways
- Damp sponges enhance hydration, creating a fresh, dewy look essential for blending cream blush and highlighter seamlessly.
- The unique sponge shape allows for controlled contouring, ensuring precise application of cream products.
- Bouncing motions with a damp sponge promote an airbrushed finish, blending colors effortlessly into the skin.
- Sponges retain more product on the skin, leading to even distribution and minimizing cakiness.
- The pointed tip of the sponge reaches tricky areas, enabling targeted application without excess product buildup.
The Advantages of Using Sponges for Cream Products

You know, using a damp sponge with your cream products isn’t just about blending – it actually gives your skin a nice boost of hydration too! After applying foundation or cream blush with a sponge, your skin looks so fresh and dewy, almost like you’ve just come from a mini spa day. And when it comes to contouring, that unique sponge shape is a total lifesaver. You can easily define your cheekbones or highlight the bridge of your nose without any harsh lines.
Instead of swiping with a brush, try gently bouncing the sponge on your skin – it creates a seamless finish that looks effortless. Plus, if you want a more natural glow, mix in a bit of lotion with your cream product and apply it with the sponge for an even dewier look. Using damp sponges for liquids and creams also helps achieve that coveted dewy finish while minimizing product absorption.
How Sponges Enhance Blending for Cream Blush

Hey! Have you ever thought about how a simple makeup sponge can really amp up your cream blush application? Trust me, using a dampened sponge can transform how you blend your blush, giving you that flawless, seamless finish we all want. Instead of those pesky harsh lines that can happen with brushes or fingers, a sponge helps everything blend effortlessly.
The cool thing about sponges is their unique texture. It allows more product to sit on your skin instead of soaking into the sponge. For instance, when you dab it onto the apples of your cheeks, it distributes the blush evenly and gets into those tricky spots. You can layer it on too; start with a light touch for a soft glow, then build up to a more intense color gradually. Plus, choosing a latex-free makeup sponge can be especially beneficial if you have sensitive skin, ensuring a comfortable and irritation-free application.
Achieving a Natural Finish With Cream Highlighter

You know that amazing, natural glow everyone loves? Well, cream highlighters can really help us achieve that! By using a damp makeup sponge, you can blend it out so smoothly that it looks like your skin is just radiating. It’s perfect for getting that seamless finish without any noticeable lines.
The cool thing about using a makeup sponge is that its bouncy texture makes blending super easy. You can control how much product you apply, so if you want a more subtle shine, you can totally do that! Plus, the pointed tip of the sponge really helps with those tricky areas like your cheekbones and brow bones—no need to worry about putting too much on.
And here’s a tip: remember to clean your sponge regularly to keep it fresh and avoid any buildup. This little step can make a big difference in how your makeup looks and feels. So go ahead and play with your cream highlighter; it’s a fun way to add that luminous touch to your look! Speaking of enhancing our features, let’s explore how to choose the right shades for your skin tone next. Incorporating soft, washable materials in your makeup tools can enhance both comfort and hygiene during application.
Tips for Damping Your Sponge for Optimal Application
Have you ever struggled with your cream blush or highlighter not looking as flawless as you hoped? The trick often comes down to how you dampen your sponge! When you’re ready to apply, just hold your sponge under water until it’s completely expanded. Make sure you squeeze out that excess water—trust me, a little dampness is all you need for the best results!
Getting this right gives your makeup that lovely airbrushed effect we all want. A damp sponge helps avoid that heavy or cakey look that can sometimes happen. After you’ve dampened it, just give it a quick pat with a towel to ensure it won’t drip—you want a smooth, even application. When it’s time to put on your blush or highlighter, use a fun bouncing or stippling motion; this really helps the product melt beautifully into your skin. Silicone makeup sponges are especially effective because their non-absorbent material prevents product waste and promotes even blending.
Recommended Techniques for Stippling With a Sponge
If you want to nail that perfect stippling technique with a sponge, start by using the rounded edge for larger areas, like your cheeks or forehead, and switch to the pointed tip for those trickier spots, like your cheekbones and around your nose. Remember, when it comes to makeup, it’s all about layering—so just apply a little at a time and build it up to your desired level of coverage.
For example, if you’re working with cream contour, you might want to start with a tiny dab along your jawline. Blend it out with the sponge’s rounded edge, and if you find it too sheer, just add a bit more until you get that natural look you’re after. Makeup blending doesn’t have to be complicated; think of it like watering a flower—just a little at a time!
Using tools with ultra-soft synthetic bristles can complement your sponge application by ensuring a smooth and gentle finish when blending powders afterward.
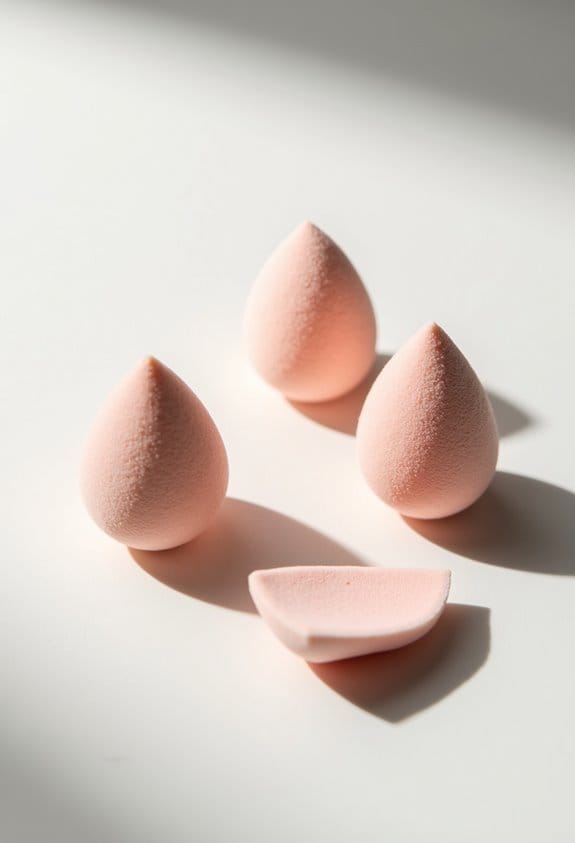
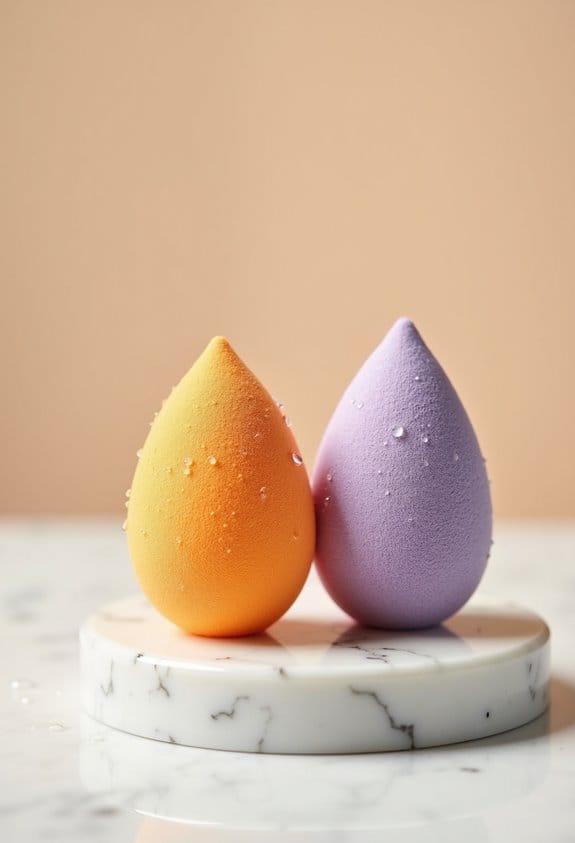
Selecting the Right Sponge for Your Skin Type
Choosing the right sponge for applying cream blush and highlighter can feel a bit daunting with all the choices out there! But don’t worry, I’m here to help you navigate through it all in a fun way.
First up, think about density. A softer sponge is fantastic for blending creamy products because it really helps everything melt into your skin. On the other hand, if you’re working with thicker formulas, a firmer sponge gives you more control, letting you place the product exactly where you want it.
If you have sensitive skin, definitely look for hypoallergenic and latex-free options. This will help keep your skin irritation-free. For example, a brand like BeautyBlender offers great products that tick those boxes, so you can use them confidently.
Now, let’s talk size. A medium sponge works wonders for applying blush or highlighter on your cheeks, but those tiny micro mini sponges are lifesavers for blending in that hard-to-reach spot on your nose or under your eyes.
Here’s a little pro tip: when you dampen your sponge before use, it can help you achieve that fresh, dewy look while also preventing too much product from soaking in. To keep your sponge in top shape and skin healthy, make sure to clean it regularly using makeup brush cleaners designed to remove makeup residue and prevent bacteria buildup.
Common Mistakes to Avoid When Using Sponges
Hey there! So, let’s chat about using sponges for makeup. You might think it’s just a matter of slapping on foundation and blending away, right? Well, not quite! There are some common mistakes that can easily get in the way. First off, always start with a clean makeup sponge. Using a dirty one can introduce bacteria, which often leads to unwanted breakouts—definitely not the look we’re going for!
Next up, remember to dampen your sponge before you start blending. A wet sponge helps distribute the product evenly, while a dry one tends to soak up all your foundation, leaving you with less coverage. Think of it like prepping a sponge for cleaning—when it’s damp, it works much better!
Also, be mindful of how much product you put on that sponge. A little goes a long way! If you apply too much, you might end up with a cakey finish that nobody wants. And when you’re blending, keep a light hand. Pressing too hard can result in uneven textures on your skin; instead, try using soft, bouncing motions for a flawless finish.
Lastly, make it a habit to clean your sponge after each use. This simple step can really keep your skin happy and prevent any build-up of that pesky bacteria. Using tools made from high-quality synthetic fibers can also help reduce the risk of skin irritation and improve blending performance. So, now that we’ve covered the basics of sponge usage, let’s move on to some tips for selecting the right products to pair with your sponge!
How to Clean and Maintain Your Makeup Sponge
Hey there! So, we all know that using the right techniques for makeup application is super important, but can I just say, keeping our makeup sponge clean is just as crucial! Trust me, cleaning your makeup sponge after each use is a total game-changer when it comes to preventing dirt and bacteria from building up. A gentle sponge cleanser or even a mild soap can work wonders here.
Here’s a simple way to do it: First, rinse your sponge under warm water until it runs clear—that’s how you know you’ve washed out all the soap residues. Then, let it air dry in a spot that’s well-ventilated; you really don’t want to end up with a moldy sponge, right? Plus, it’s a good idea to replace your sponge every 3-6 months or as soon as it starts looking a bit worn out or torn. If you notice it’s not bouncing back like it used to, it’s time for a new one!
And here’s a handy tip: when your sponge is clean and dry, store it in a breathable pouch. This keeps it safe and allows it to stay fresh longer. Remember, maintaining good hygiene is key to achieving that flawless makeup look. To keep your vanity neat and enhance your beauty routine, consider organizing your tools in a clear acrylic makeup brush holder. Now, let’s talk about other tools you should keep in tip-top shape for your beauty routine!
Alternative Uses for Sponges in Your Makeup Routine
Hey there! Did you know that sponges aren’t just for slapping on foundation? These little makeup wonders are super versatile and can do a lot more than you might think! For example, you can use a makeup sponge to apply your favorite serums or moisturizers. Just dampen the sponge slightly and pat it on for a really even, fresh glow. It’s like giving your skin a nice drink of water!
And that’s not where the fun ends! They’re also a lifesaver for creamy blush and highlighter. Use a damp sponge to blend those products out, and you’ll achieve a seamless finish—no harsh lines in sight. Plus, if you find yourself shiny later in the day, just grab your sponge and gently blot away excess oil. It’s easy and keeps your makeup looking fresh!
Need to apply baking powder for that flawless look? A damp sponge is perfect for targeting those specific areas. And if you accidentally go a bit overboard with your products, no worries! Just dab the area with the sponge to lift any excess without messing up the rest of your makeup. Pretty handy, right?
Now that you know how versatile sponges can be in your makeup routine, let’s explore another handy tip for keeping your makeup looking its best! For a tidy and efficient makeup setup, consider investing in a durable acrylic organizer to keep all your products neatly arranged and easily accessible.
Best Products to Pair With Sponges for Cream Formulas
When you’re working with cream formulas, sponges can be your absolute best friends! Seriously, they make applying products like cream blush and highlighters so much easier. For instance, Glossier Cloud Paint is a fantastic choice—it just melts into your skin with a sponge, leaving everything looking soft and seamless. Another go-to is Benetint; this liquid blush blends beautifully with a sponge and gives you that lovely flush without any harsh lines.
For highlighting, you really can’t go wrong with a liquid highlighter like the Mecca Liquid Highlighter. The trick with a damp sponge? It helps distribute the product evenly and gives you that fresh, dewy finish we all want. Just remember to bounce the sponge against your skin; this technique promotes an even blend that feels light and natural. It’s all about that radiant look, and with these products, you’ll be glowing all day! Using a soft synthetic bristle brush alongside sponges can also enhance blending precision when setting your cream makeup.
Expert Recommendations for Achieving Flawless Application
Let’s be real—applying cream blush and highlighter can feel like a tricky magic act, right? But don’t worry, I’ve got some expert tips that can help you nail that flawless look.
First off, grab a damp makeup sponge. Using it for blending gives you that smoothed-out, airbrushed finish we all love. Just think about it: when your sponge is damp, it helps the cream products melt into your skin instead of sitting on top. You’ll see the difference!
Next, when you’re applying cream blush, go for a stippling motion. Just gently tap the product onto your cheeks. This helps you gradually build up the color, avoiding any overwhelming pigment right at the start. For example, if you’re using a bright coral blush, start with a light touch. You can always add more if you want a bolder look later!
Now, let’s talk highlighters. Use the sponge’s rounded edge to dab highlighter onto the high points of your face, like your cheekbones and brow bones. This technique creates a soft, diffused glow that catches the light beautifully.
Oh, and keep your tools clean! A well-maintained sponge soaks up less product, which means more of it goes right onto your skin where you want it. Trust me—clean tools can make a huge difference in your makeup game.
Consider dedicating separate sponges for different products. For instance, use one sponge for your blush and another for your highlighter. This prevents any muddy colors and helps keep your look flawless all day long.
With these tips, you’ll be well on your way to mastering your cream blush and highlighter application. And once you’ve got the basics down, you can experiment with different shades and techniques to find what works best for you!
Frequently Asked Questions
Can You Use a Sponge for Cream Blush?
Absolutely, we can use a sponge for cream blush application! By mastering sponge techniques, enhancing color payoff, layering product for various finish types, and considering skin types, we’ll achieve makeup longevity and a flawless look.
What Are the Benefits of Using a Makeup Sponge?
Using a makeup sponge enhances our application techniques, providing cream products’ advantages with versatile blending. It’s great for contouring, offers durability over brushes, and requires attention to sponge hygiene for excellent results and longevity.
Is It Better to Blend Makeup With Brush or Sponge?
When blending makeup, we find sponges create smoother textures and softer finishes, while brushes offer more control. Depending on skin types, using sponges minimizes product absorption, enhancing our blending techniques and achieving beautiful results.
Is It Better to Use a Beauty Blender or Brush for Blush?
We believe using a beauty blender for blush application is best. Its sponge efficiency guarantees smooth blending, while brush techniques can sometimes miss the mark on product absorption. Expert opinions support sponges for flawless coverage comparison in makeup tools.