As an Amazon Associate, we earn from qualifying purchases. Some links on this site are affiliate links at no extra cost to you. Our recommendations are based on thorough research and editorial judgment.

How to Disinfect Tools Safely Without Harsh Damage
When we disinfect our tools, let’s keep them safe and sound! First, we gently wipe off debris. For metal, a bleach soak works wonders—just two minutes! Plastic needs warm soapy water, while wood loves vinegar and water. After cleaning, dry tools completely to prevent rust! Don’t forget to store them in a dry place with silica gel packs for extra moisture control. By following these tips, we’ll keep our tools happy and healthy! Curious for more handy tips?
Key Takeaways
- Use diluted bleach solutions carefully, ensuring they’re compatible with your tool materials to avoid damage, especially on plastics.
- Soak metal tools for two minutes in a bleach solution while avoiding soaking wood or plastic tools.
- Clean plastic tools with warm water and mild antibacterial soap, gently scrubbing away dirt without harsh chemicals.
- For glass equipment, autoclave at 125 degrees Celsius for 20 minutes to effectively disinfect without causing harm.
- Inspect tools before disinfection for damage and follow manufacturer’s recommendations for disinfectant mixing ratios to ensure safety.
Understanding the Importance of Disinfection

Have you ever stopped to think about what’s hanging out on your gardening tools? It’s more than just dirt; there could be harmful germs just waiting to jump onto your plants! That’s why disinfecting your tools is super important for maintaining a healthy garden. Regularly cleaning your tools with something like a diluted bleach solution helps wipe out those nasty microorganisms and stops them from spreading between your plants.
Now, when you’re disinfecting, pay attention to how long the disinfectant needs to sit to do its job properly. For instance, if you’re using a bleach solution, letting it sit for at least five minutes can make all the difference in killing off the bad stuff.
Here are a couple of quick tips for effective disinfection: always use the right cleaning product and make sure to read the instructions carefully. By doing this, you not only keep your tools in good shape but also create a safer environment for your plants to thrive. Plus, you’ll be amazed at how much easier gardening tasks become with well-maintained tools!
Using tools with ergonomic grips can also reduce strain during extended cleaning sessions, making the process more comfortable and effective.
Keeping your garden thriving starts with clean tools, and the next step is ensuring your soil is just as healthy! 🌱 Let’s talk about how to enrich your soil for optimal plant growth.
Selecting the Appropriate Disinfectant

When it comes to selecting the right disinfectant, it’s super important to check whether it’s compatible with your tools and surfaces. For example, products with sodium hypochlorite can work wonders on things like countertops but might damage plastic surfaces or fabrics. So, always double-check the labels!
Also, don’t forget about the contact time—that’s how long the disinfectant needs to sit on the surface to be effective. This can range from just a few seconds for sprays to a couple of minutes for wipes. I personally prefer using sprays or wipes because they make the whole process simpler and less messy. You just spray, wait, and wipe; it’s as easy as that!
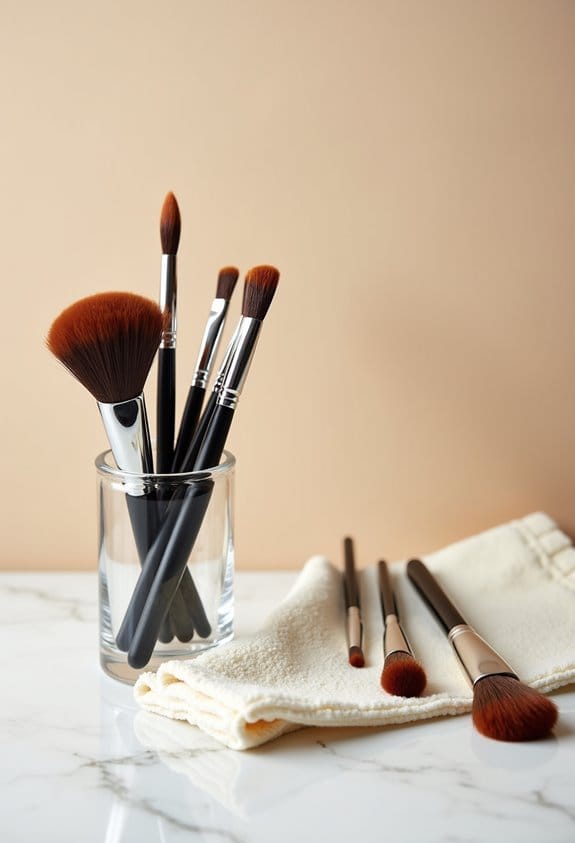
Regular cleaning helps prevent skin irritation caused by bacterial buildup and ensures optimal hygiene when disinfecting beauty tools, making regular brush cleaning essential.
Recommended Products

NOTE: This product is cannot be returned

Powerful multi-purpose cleaner that is free from harsh chemicals, making it safe for use in various settings
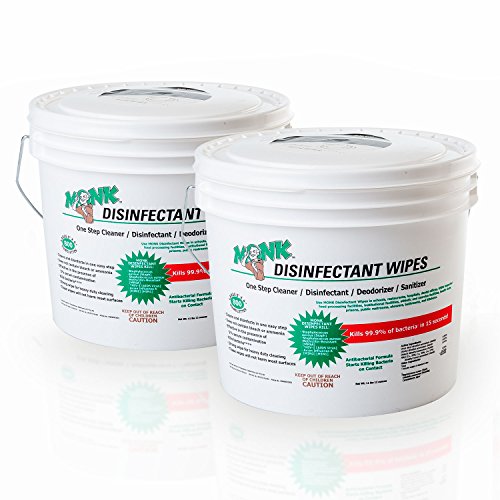
Cleans, disinfects and deodorizes, killing 99.9% of bacteria on hard, nonporous surfaces.
Preparatory Steps Before Disinfection

Before we jump into disinfection, let’s get our tools prepped and ready! First up, grab a dry cloth and wipe away any loose debris—trust me, dirt is no match for our disinfectants! If you come across any stubborn, caked-on grime, a stiff-bristle brush works wonders. Just think of it as giving your tools a quick, gentle scrub!
Next, if your tools are a bit oily, mix some mild soap with warm water—just don’t soak them! It’s all about getting rid of the grease without damaging your gear. And remember, before you start disinfecting, take a moment to check for any wear or damage. You wouldn’t want to make things worse, right? Lastly, always follow the manufacturer’s instructions for mixing your disinfection solution. Getting the ratios right ensures you maximize germ elimination while keeping your beloved tools in tip-top shape.
For optimal results, consider using products that are dermatologist tested to ensure safety and efficacy.
Once everything’s prepped and ready, you’ll be all set to tackle the disinfection process effectively! Let’s move on to choosing the right disinfectant for the job.
Recommended Products
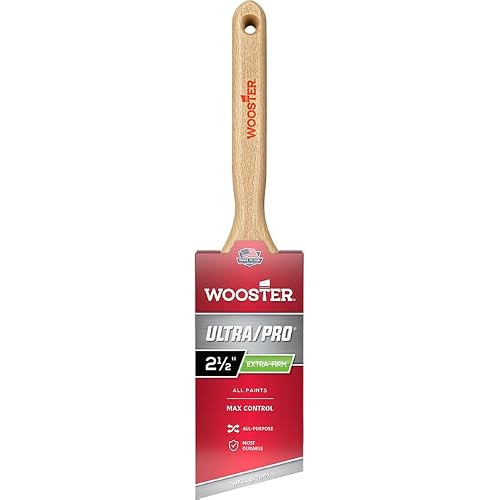
Innovative extra-firm formulation of purple NylonPlus and purple and black nylon carries more paint to the wall, cleans up fast when done

➤ NO SLIP GRIP - Nail Brush is 3.875" x 1.75" x 1.25" and Easily clean your hands and fingernails! A true Hand and Nail Scrubber Brush tool with a no-slip grip wooden block handle. The best way to get the tough dirt, stains, paint, hair gel out of your hands and under nails. Use with liquid soap for a deeper clean. Also effective for scrubbing and cleaning grout on floors or walls.
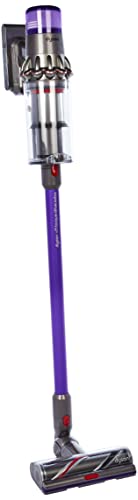
Dyson's most intelligent, powerful cordless vacuum. Twice the suction of any cordless vacuum.
Effective Cleaning Techniques for Various Materials
Hey there! You know, when it comes to cleaning our tools, using the right technique for different materials can really save you a lot of headaches. For metal tools, a simple bleach solution mixed with water works wonders—just let them soak for about two minutes. It’s an easy way to disinfect them and keep rust at bay.
Now, if you’ve got plastic tools, heat can be your best friend! Mixing warm water with some mild antibacterial soap does the trick perfectly. Just give them a little scrub and rinse—they’ll be spotless in no time.
For glass equipment, you’ll want to get the autoclave going at 125 degrees Celsius for about 20 minutes. This ensures you kill off any germs without worrying about breaking anything. Meanwhile, with wooden tools, a quick wipe with a vinegar and water solution will do wonders, just remember to dry them well afterward to keep the wood in shape!
And don’t forget your power tools—stick to rubbing alcohol or diluted soap on those. Stay away from harsh chemicals! You’ll find that with these cleaning tips, your tools will not only last longer but work better too. Regular cleaning and maintenance are essential for preserving blade sharpness and overall tool performance. Now, speaking of keeping things in top shape, let’s chat about organizing your workspace for easy access!
Recommended Products
Easy-Clean, Commercial-Grade Upholstery: Wipe away hair color, bleach, and disinfectants in seconds. The stain-resistant leather maintains a professional appearance with zero hassle, perfect for back-to-back clients.

CLOROX HEALTHCARE BLEACH GERMICIDAL CLEANER: Specially designed for healthcare professionals, this bleach cleaner kill C. diff* and C. auris in 3 minutes; packaging may vary

Kills 99.9% of Germs – Effectively disinfects surfaces, helping to prevent the spread of bacteria and viruses.
Rinsing and Drying Tools Properly
Alright, so you’ve just disinfected your tools—that’s a great start! Now, let’s talk about how to rinse and dry them properly, which is super important for keeping them in top shape. First things first, grab some clean water and give your tools a good rinse. This isn’t just about making them look shiny; it gets rid of any pesky chemical residues that could cause wear. For instance, if you’ve used a strong disinfectant, you really want to make sure that’s all washed away.
Now, onto the drying process, which can actually be pretty fun! Use a clean, dry cloth to wipe them down right away; this helps stop any moisture from turning into rust. If you’ve got some tricky spots like crevices or joints, blasting them with compressed air can help get rid of any hidden water. Finally, set them out to air dry in a spot where there’s good air flow—this really makes a difference! While you’re drying, keep an eye out for any signs of wear or damage. If something seems off, it’s always a good idea to inspect it closely and address any issues right away.
Using tools made with durable materials also helps extend their lifespan by resisting damage during cleaning.
Once you’ve nailed the rinsing and drying process, you’re well on your way to ensuring your tools stay in great condition for the long haul!
Recommended Products

Precision High-Pressure Performance: Delivers a powerful 39 CFM at a maximum working pressure of 235 PSI. Specially engineered for laser engraving and cutting machines that require stable, high-pressure air delivery for clean edges and consistent operation.

Parameters: Power : 20HP;Input Voltage: 230V/3Ph; Output Pipe Diameter : NPT 1”; Air Flow : 81cfm , Max Working Pressure : 150 psi;Motor : 3600rpm;Spin-on Oil Separator. Note: It is not possible to convert between single-phase and three-phase through a converter

High-Performance Motor. Equipped with a high-performance motor featuring IP54 protection, a fully enclosed dust-proof design, and Class F insulation, combined with SKF heavy-duty bearings. It delivers high starting torque, excellent heat resistance, and a long service life.
Post-Disinfection Maintenance and Care
Once we’ve rinsed and dried our tools, it’s really important to focus on their ongoing care to keep them in great shape. You see, moisture exposure is a big enemy for metal tools because it leads to rust. A simple tip is to apply a light coat of rust inhibitor or machine oil on the metal parts. This thin layer acts like a protective shield, making sure our disinfected tools remain rust-free and ready to use!
Now, let’s talk about the importance of regular inspections. Imagine starting a project only to find that your favorite tool isn’t working properly—what a hassle! By regularly checking for wear and tear, you can catch any potential issues before they become larger problems. For example, look for any dull blades or loose screws and fix them right away.
Lastly, proper storage is key to extending the lifespan of our tools. Keeping them in a dry, well-ventilated area helps prevent moisture buildup. Think about it—storing your tools on a rack in your garage or hanging them on the wall can make a world of difference! By creating a habit of light cleaning and maintenance post-disinfection, you ensure your tools are always in tip-top shape and ready for the next project. Remember, choosing tools made of rust-resistant materials can further protect against corrosion and maintain precision. Now that we’ve covered tool care, let’s chat about how to keep your workspace organized for even better efficiency!
Recommended Products

INTRODUCTION - WTTTOOLS upgraded 2000 watt laser cleaning machine, equipped with IoT technology and wide scan capability, can fully meet your extensive cleaning needs and improve overall efficiency. Power: 2000 W. Laser Wavelength: 1080±10nm. Scanning Width: 10-300mm. Laser Type: Continuous/Modulation. Maximum Modulation Frequency: 20KHz. Input Power: 8kW. Cable Length: 10 meters. Voltage: AC220V±10%. Cooling Method: Water Cooling. Package Dimensions: 44*22.2*41.3in. Net Weight: 260lbs. Gross Weight: 330lbs.

"EFFORTLESS & PRECISE APPLICATION: Applying our Vanishing Metal Lubricant is a breeze, tailored for diverse methods like Roller Coating, Hand/Manual, Drip, Flood, and Airless Spray. This versatility ensures pinpoint accuracy, minimizing wastage while maximizing lubrication. Choose the method that suits your needs and watch as the lubricant works wonders with unparalleled precision."

DRIVES OUT MOISTURE: Like all WD-40 Multi-Use Products this 55 gallon drives out moisture and quickly dries out electrical systems to eliminate moisture-induced short circuits
Best Practices for Long-Term Tool Storage
Hey there! If you want to keep your tools safe and sound, it’s not just about cleaning them up; how we store them plays a huge role too. First off, make sure you’re putting them in a dry and well-ventilated area. Moisture is a real enemy when it comes to tools because it can lead to rust pretty quickly! A handy tip is to toss in some silica gel packs; they’re those little sachets that absorb moisture and help keep things dry.
Now, let’s talk organization. Using toolboxes or pegboards can make your life so much easier. This way, your tools stay accessible, and you won’t accidentally scratch or damage them when you’re rummaging around. I recommend using non-slip drawer liners; they can be a perfect solution to prevent your tools from sliding all over the place when you open the drawer. And don’t forget to regularly inspect your tools. Catching wear and tear early can help you avoid bigger issues down the line.
Frequently Asked Questions
How to Properly Disinfect Tools?
Have we considered how essential regular tool maintenance is? We should disinfect our tools frequently using safe materials like a mild bleach solution, ensuring they’re clean, protected, and ready for our next project.
Does Vinegar Actually Disinfect?
While vinegar does have some antibacterial properties, its effectiveness as a disinfectant is limited. For better results, we should consider natural disinfectants like hydrogen peroxide or explore vinegar alternatives that offer stronger antimicrobial benefits.
What Can I Use to Sterilize Tools?
We can use natural disinfectant options like vinegar and baking soda for effective sterilization techniques. By embracing safe cleaning methods, we guarantee our tools sparkle bright and remain safe for all our gardening adventures.
Does Rubbing Alcohol Disinfect Tools?
Yes, rubbing alcohol disinfects tools effectively, providing benefits like quick evaporation and residue-free cleaning. While we can explore other disinfecting alternatives, it’s essential to choose safe cleaning methods to protect our tools’ finishes.